Tis’ the season…all year round.

window of a book store with a snowman made of newspaper sitting at an old typwriter

To say I’m a simple person would be the furthest thing from the truth.  I’m far from simple.  I do however love and embrace the beautiful simple everyday things that transform my life into a blessing.

I write this now as I return from a run.  A run I desperately needed because running outside allows me to step away from my brain and just breathe.  It allows me to connect with something much greater than myself and re-fire my circuitry. It also gives me a quiet space to gather my thoughts and make sense of them. And today has been a struggle bus as my daughter would say.

I really needed this run.

As I was coming into the home stretch of said much needed run I realized that I was also coming into the home stretch of the holiday season (that part leading up the grand finale of it all). I looked around at all the beauty I soak up during my runs; the beautiful blue sky, the sun, the tall grasses in the marsh, the babbling brook to the left, the horses on the right, the sound of the geese flying south, the slightly chilly wind on my face and the abundant wild life that lingers on the winding trail, I asked myself, “why does there need to be a short holiday season once a year.  A small window of time in which we celebrate the holidays?  Shouldn’t we be celebrating peace, love and joy all year round?”

It’s the same every year; the holiday season kicks off with our giving thanks, then gifts and from there onto bracing ourselves for a new year.  One we typically hope will be more than the one we are currently closing out. And then, it’s back to business as usual for most of us until November rolls around again.

Now, I’m certainly not trying to down play the magic of the season and all things celebrated.  I love the spiritual rituals from around the world, especially those celebrating peace and love.  I also dig the symbolic warmth and comfort things we enjoy and associate with the holidays during the official season.  But sometimes it feels canned.  A one-size-fits all approach to compartmentalize the holiday season.

It just feels like a whole lot of jam-packing life’s beautiful gifts to be treasured into a very small window of time.  I get the “holiday season” and the “holidays” refer to the time from November until the first of January (in which many holidays around the world are celebrated). But a holiday can also be a special day to celebrate…outside of said season.  So why have a designated holiday season?

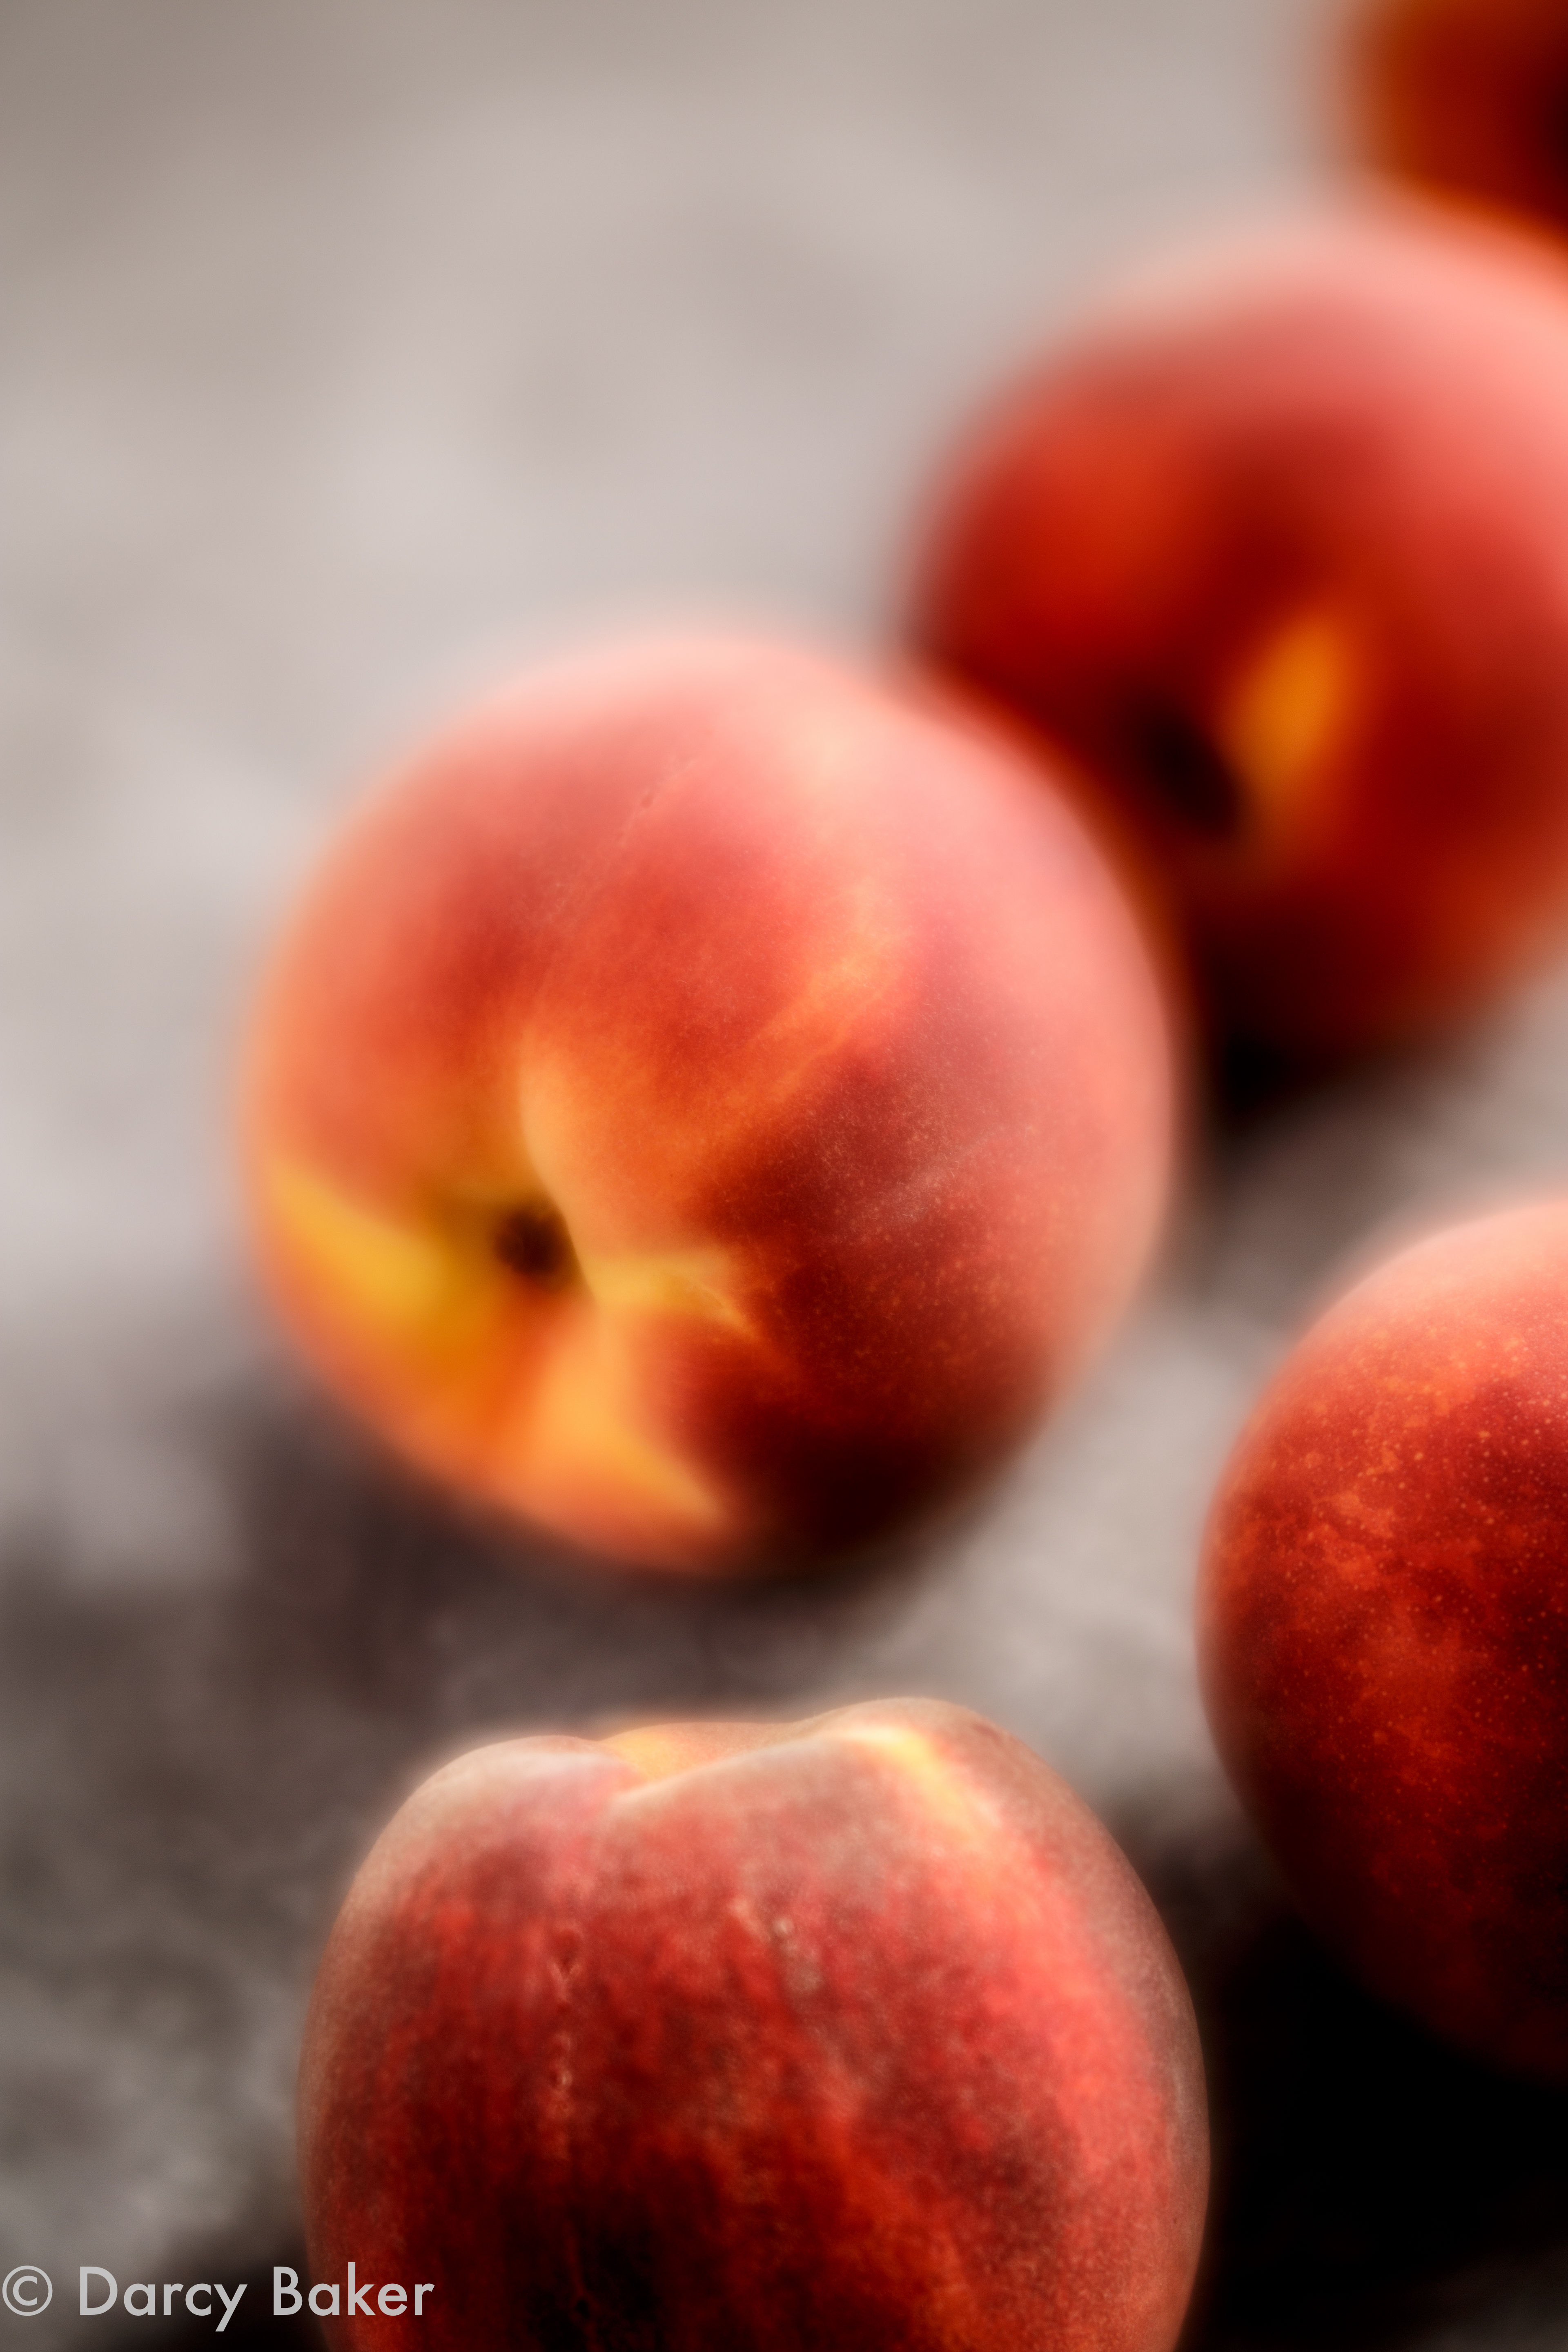
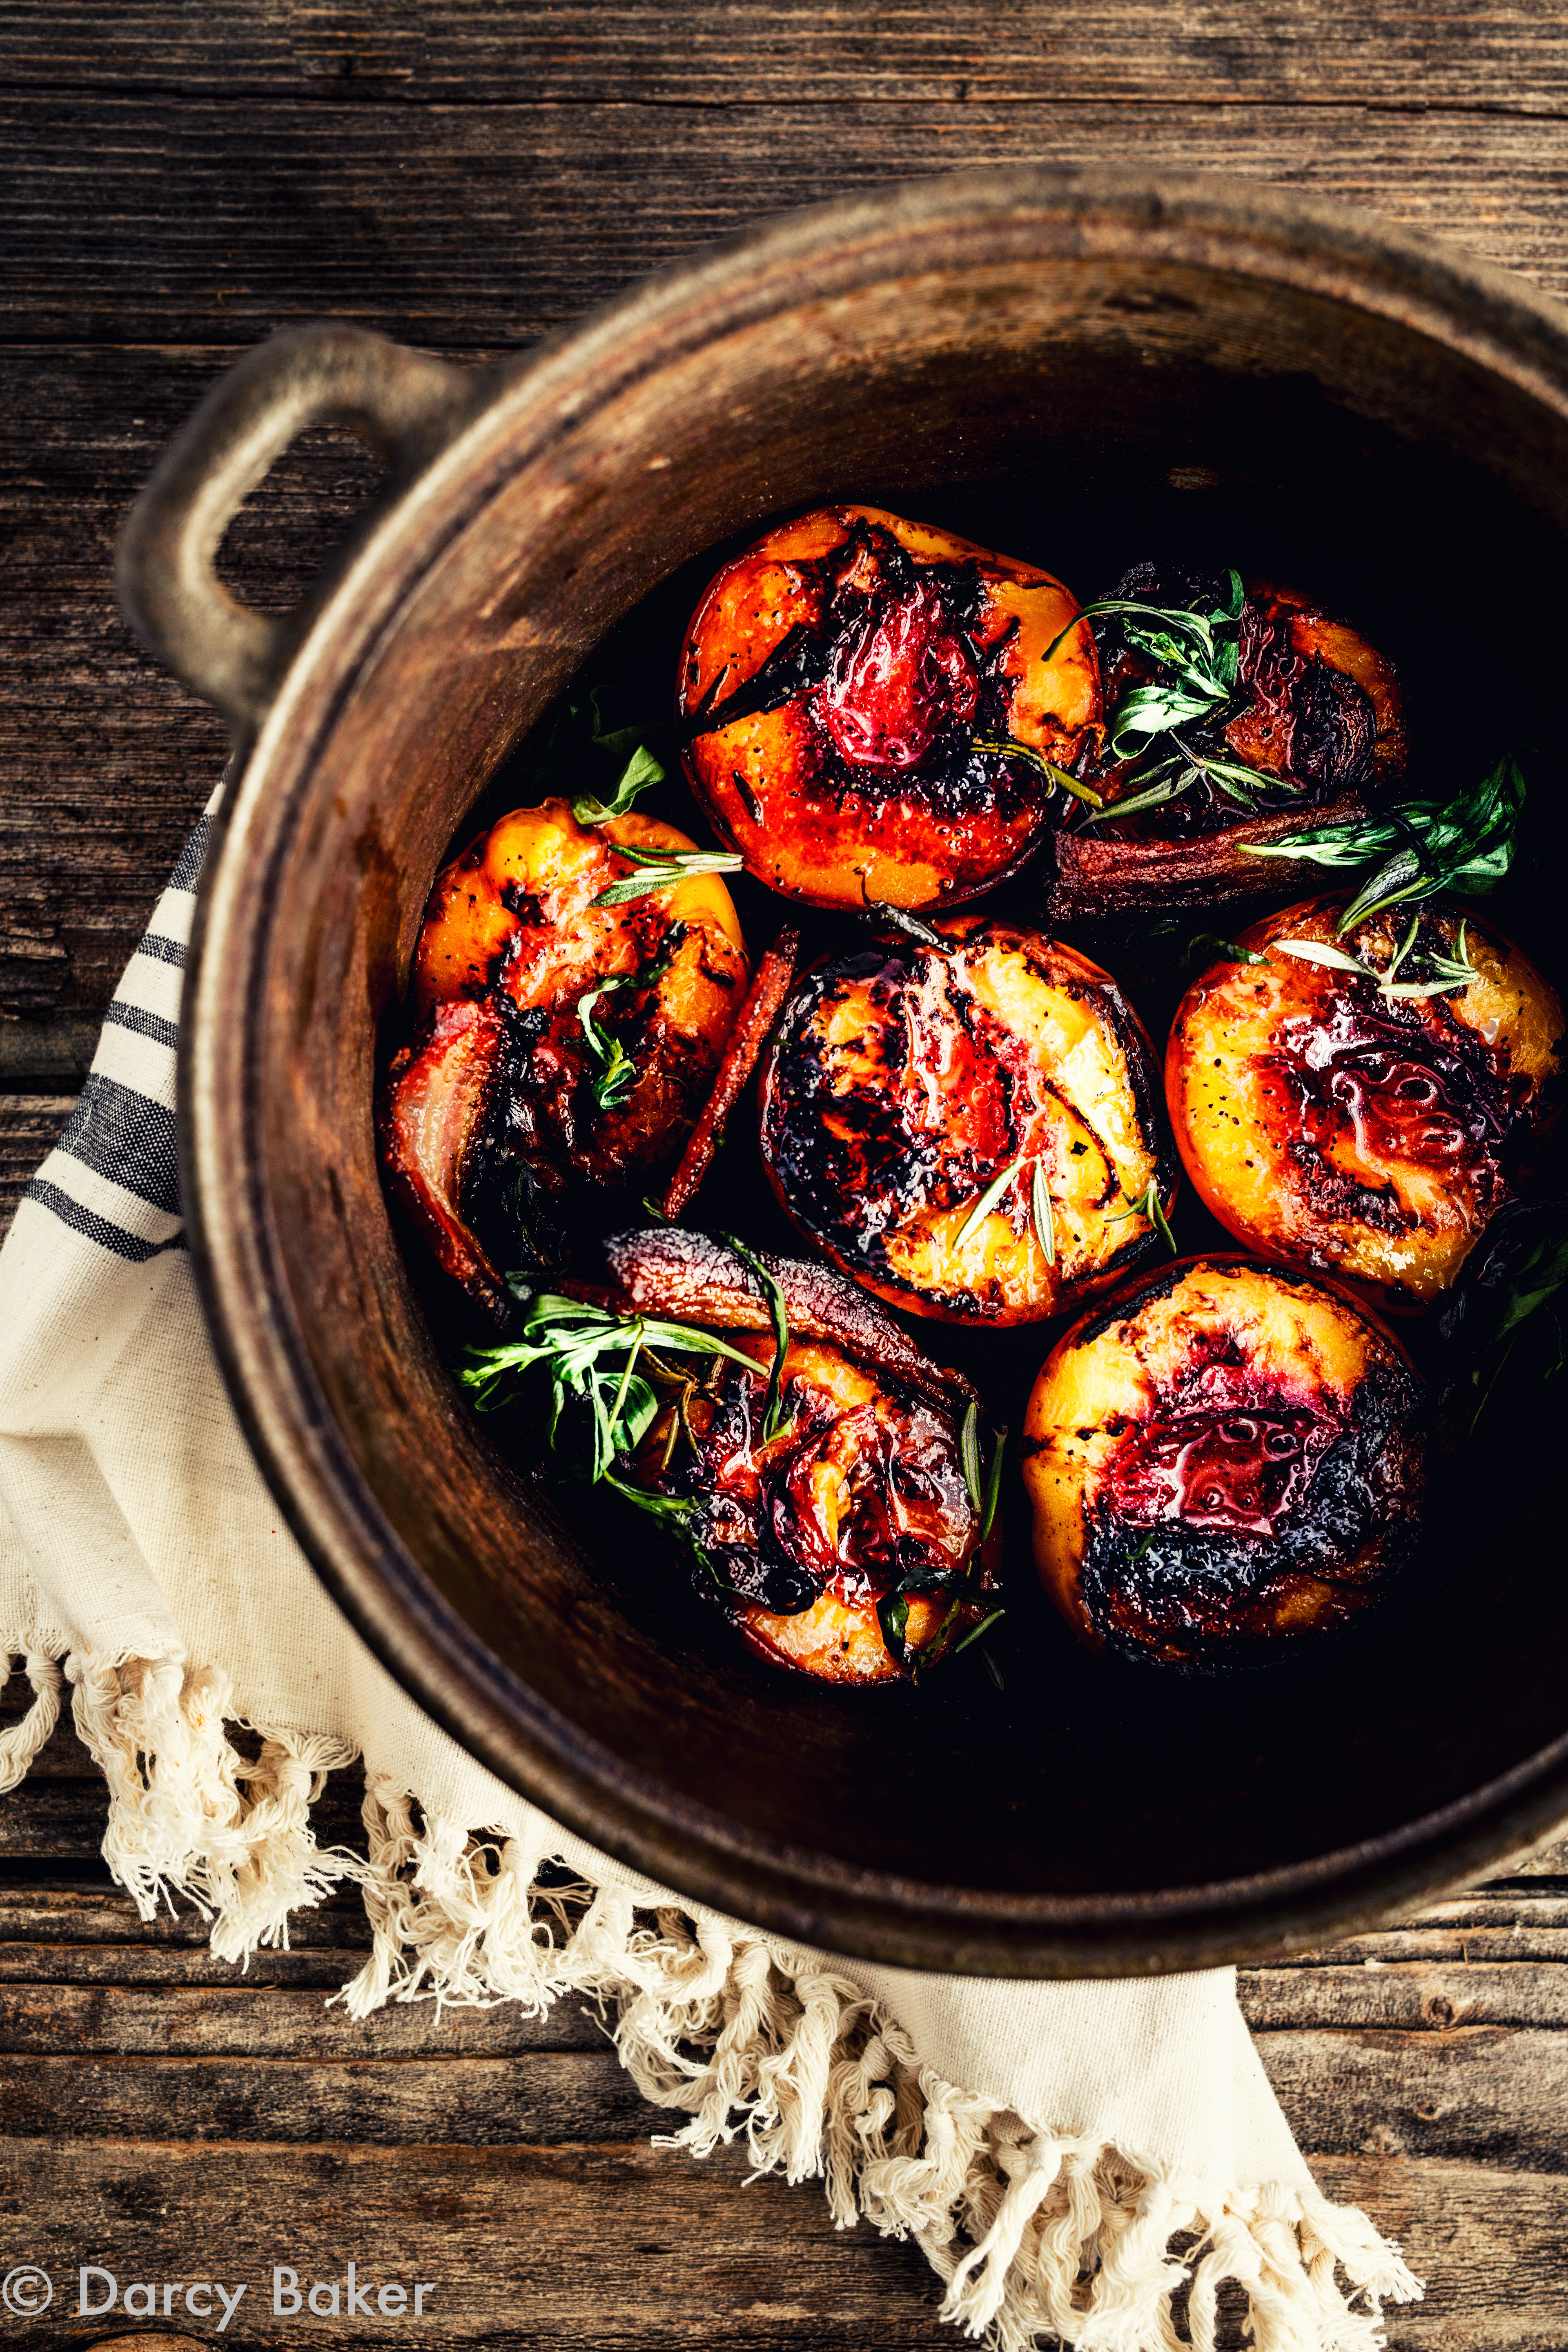
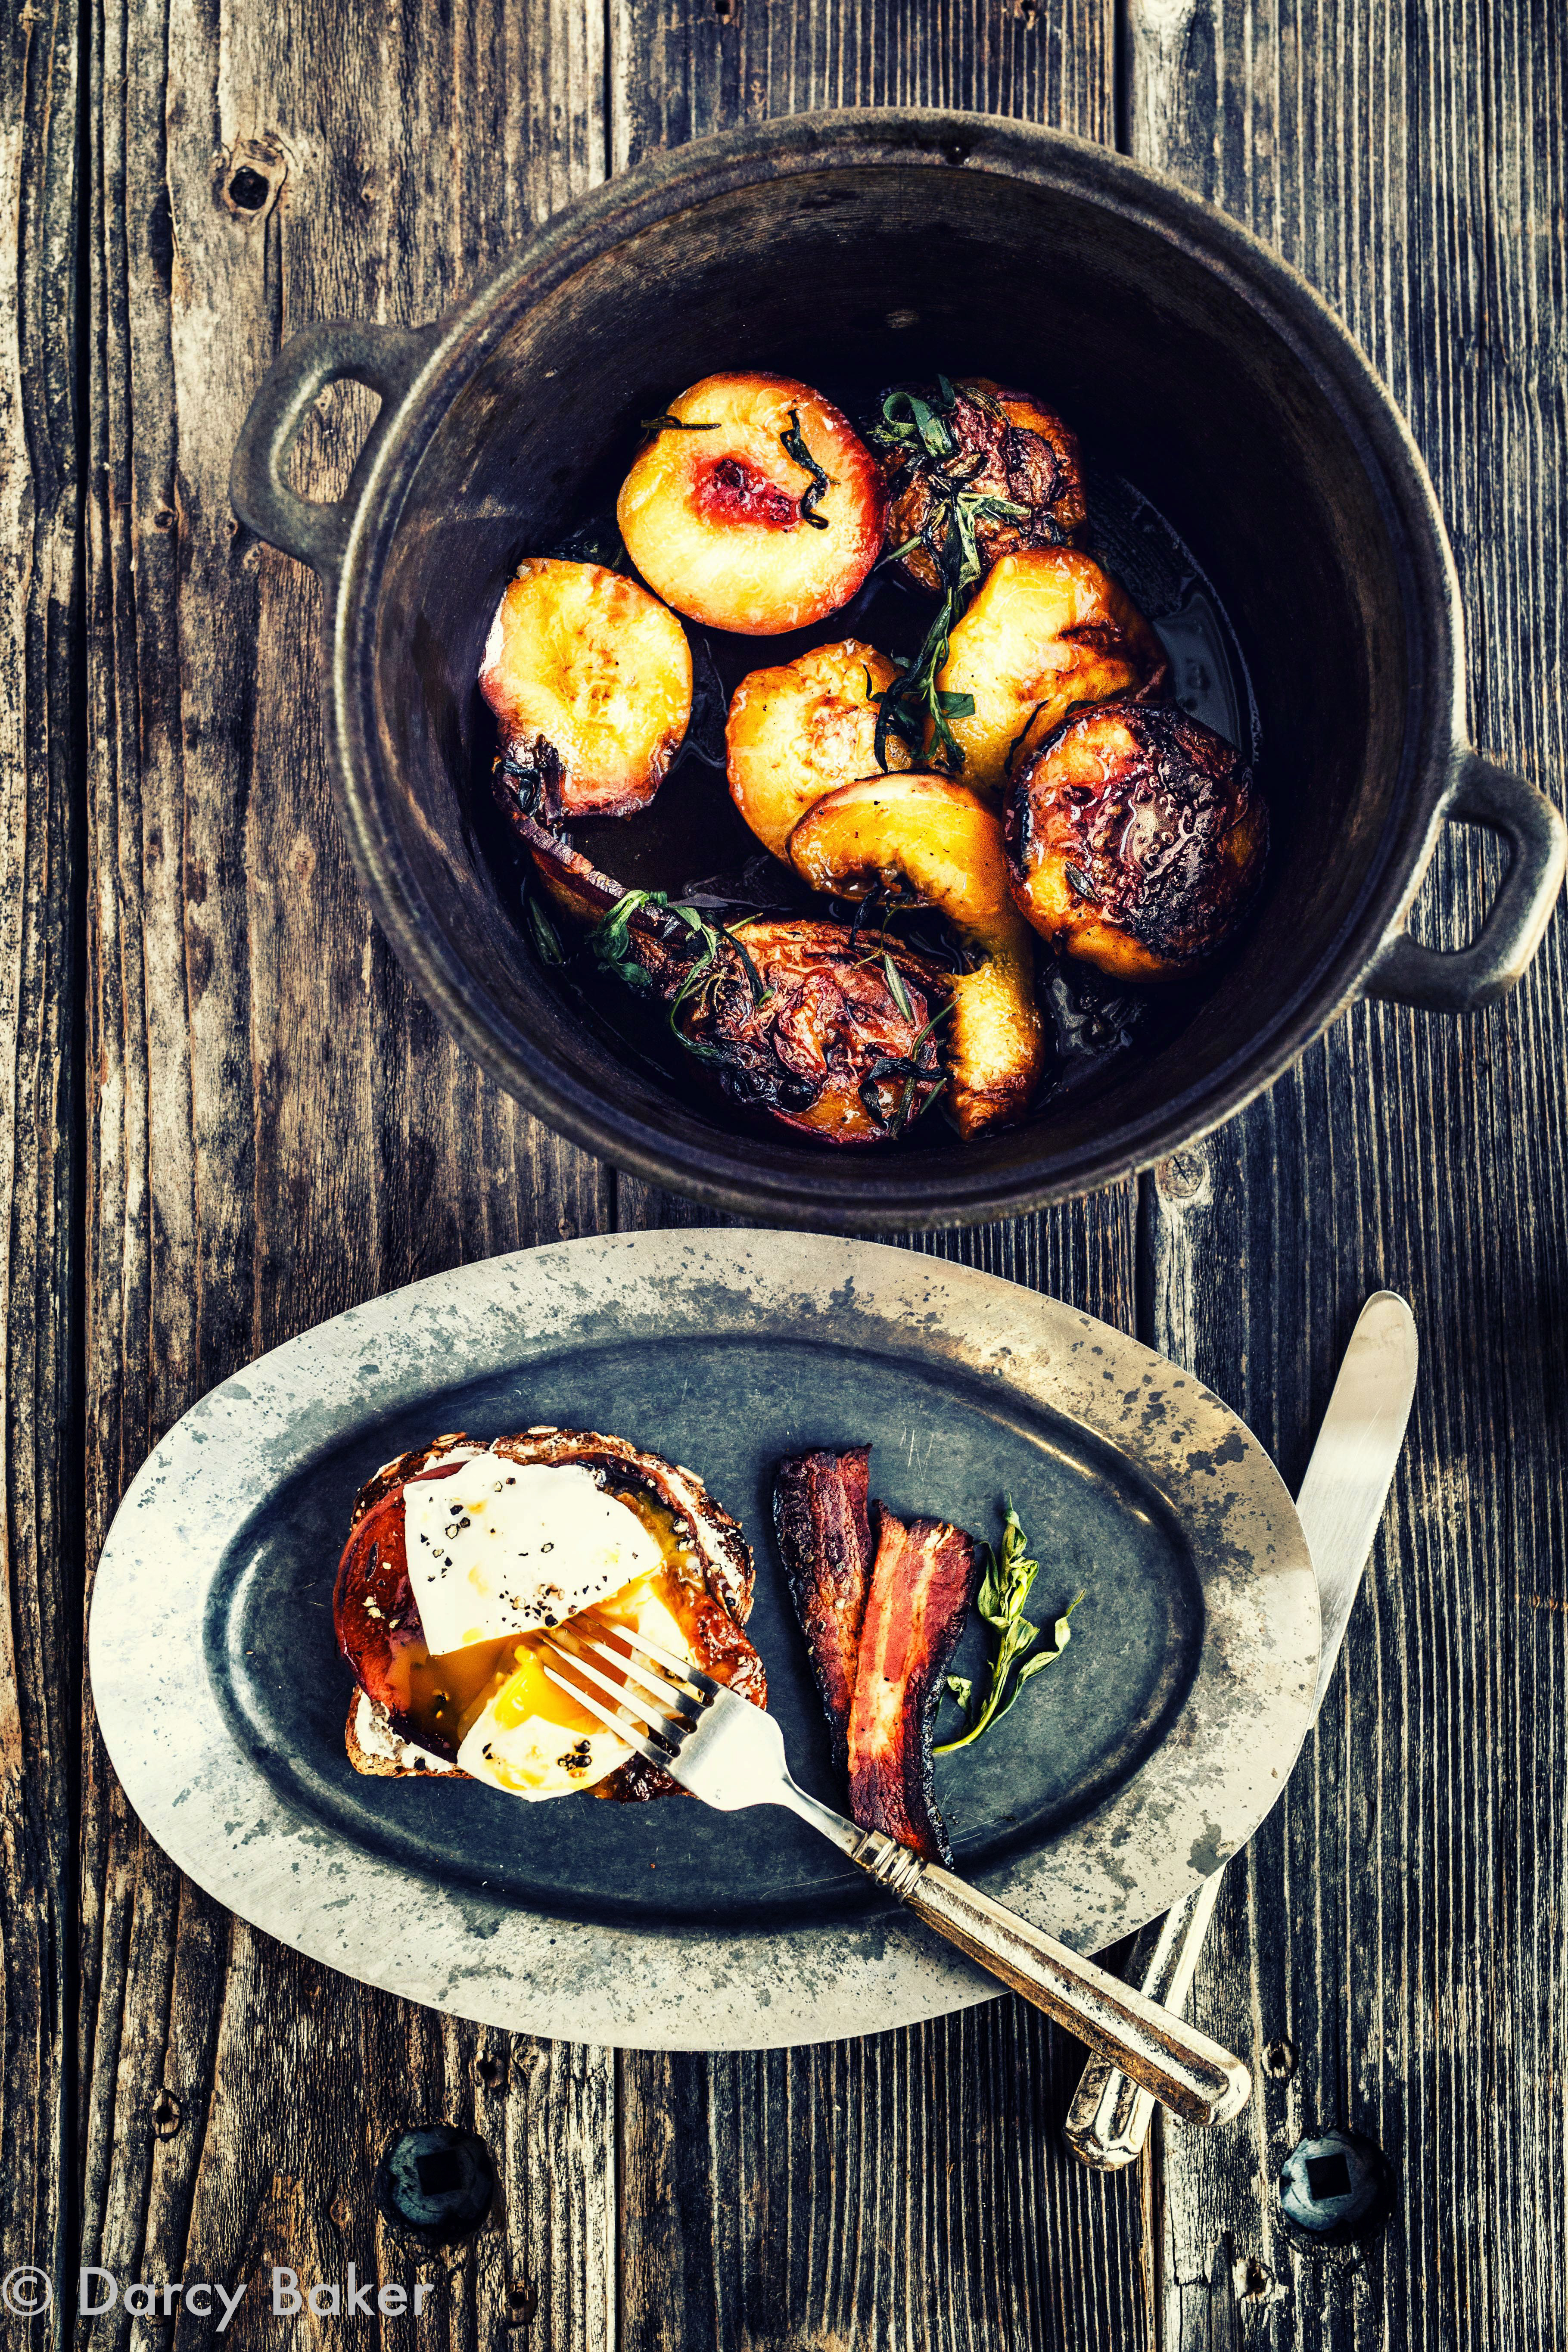
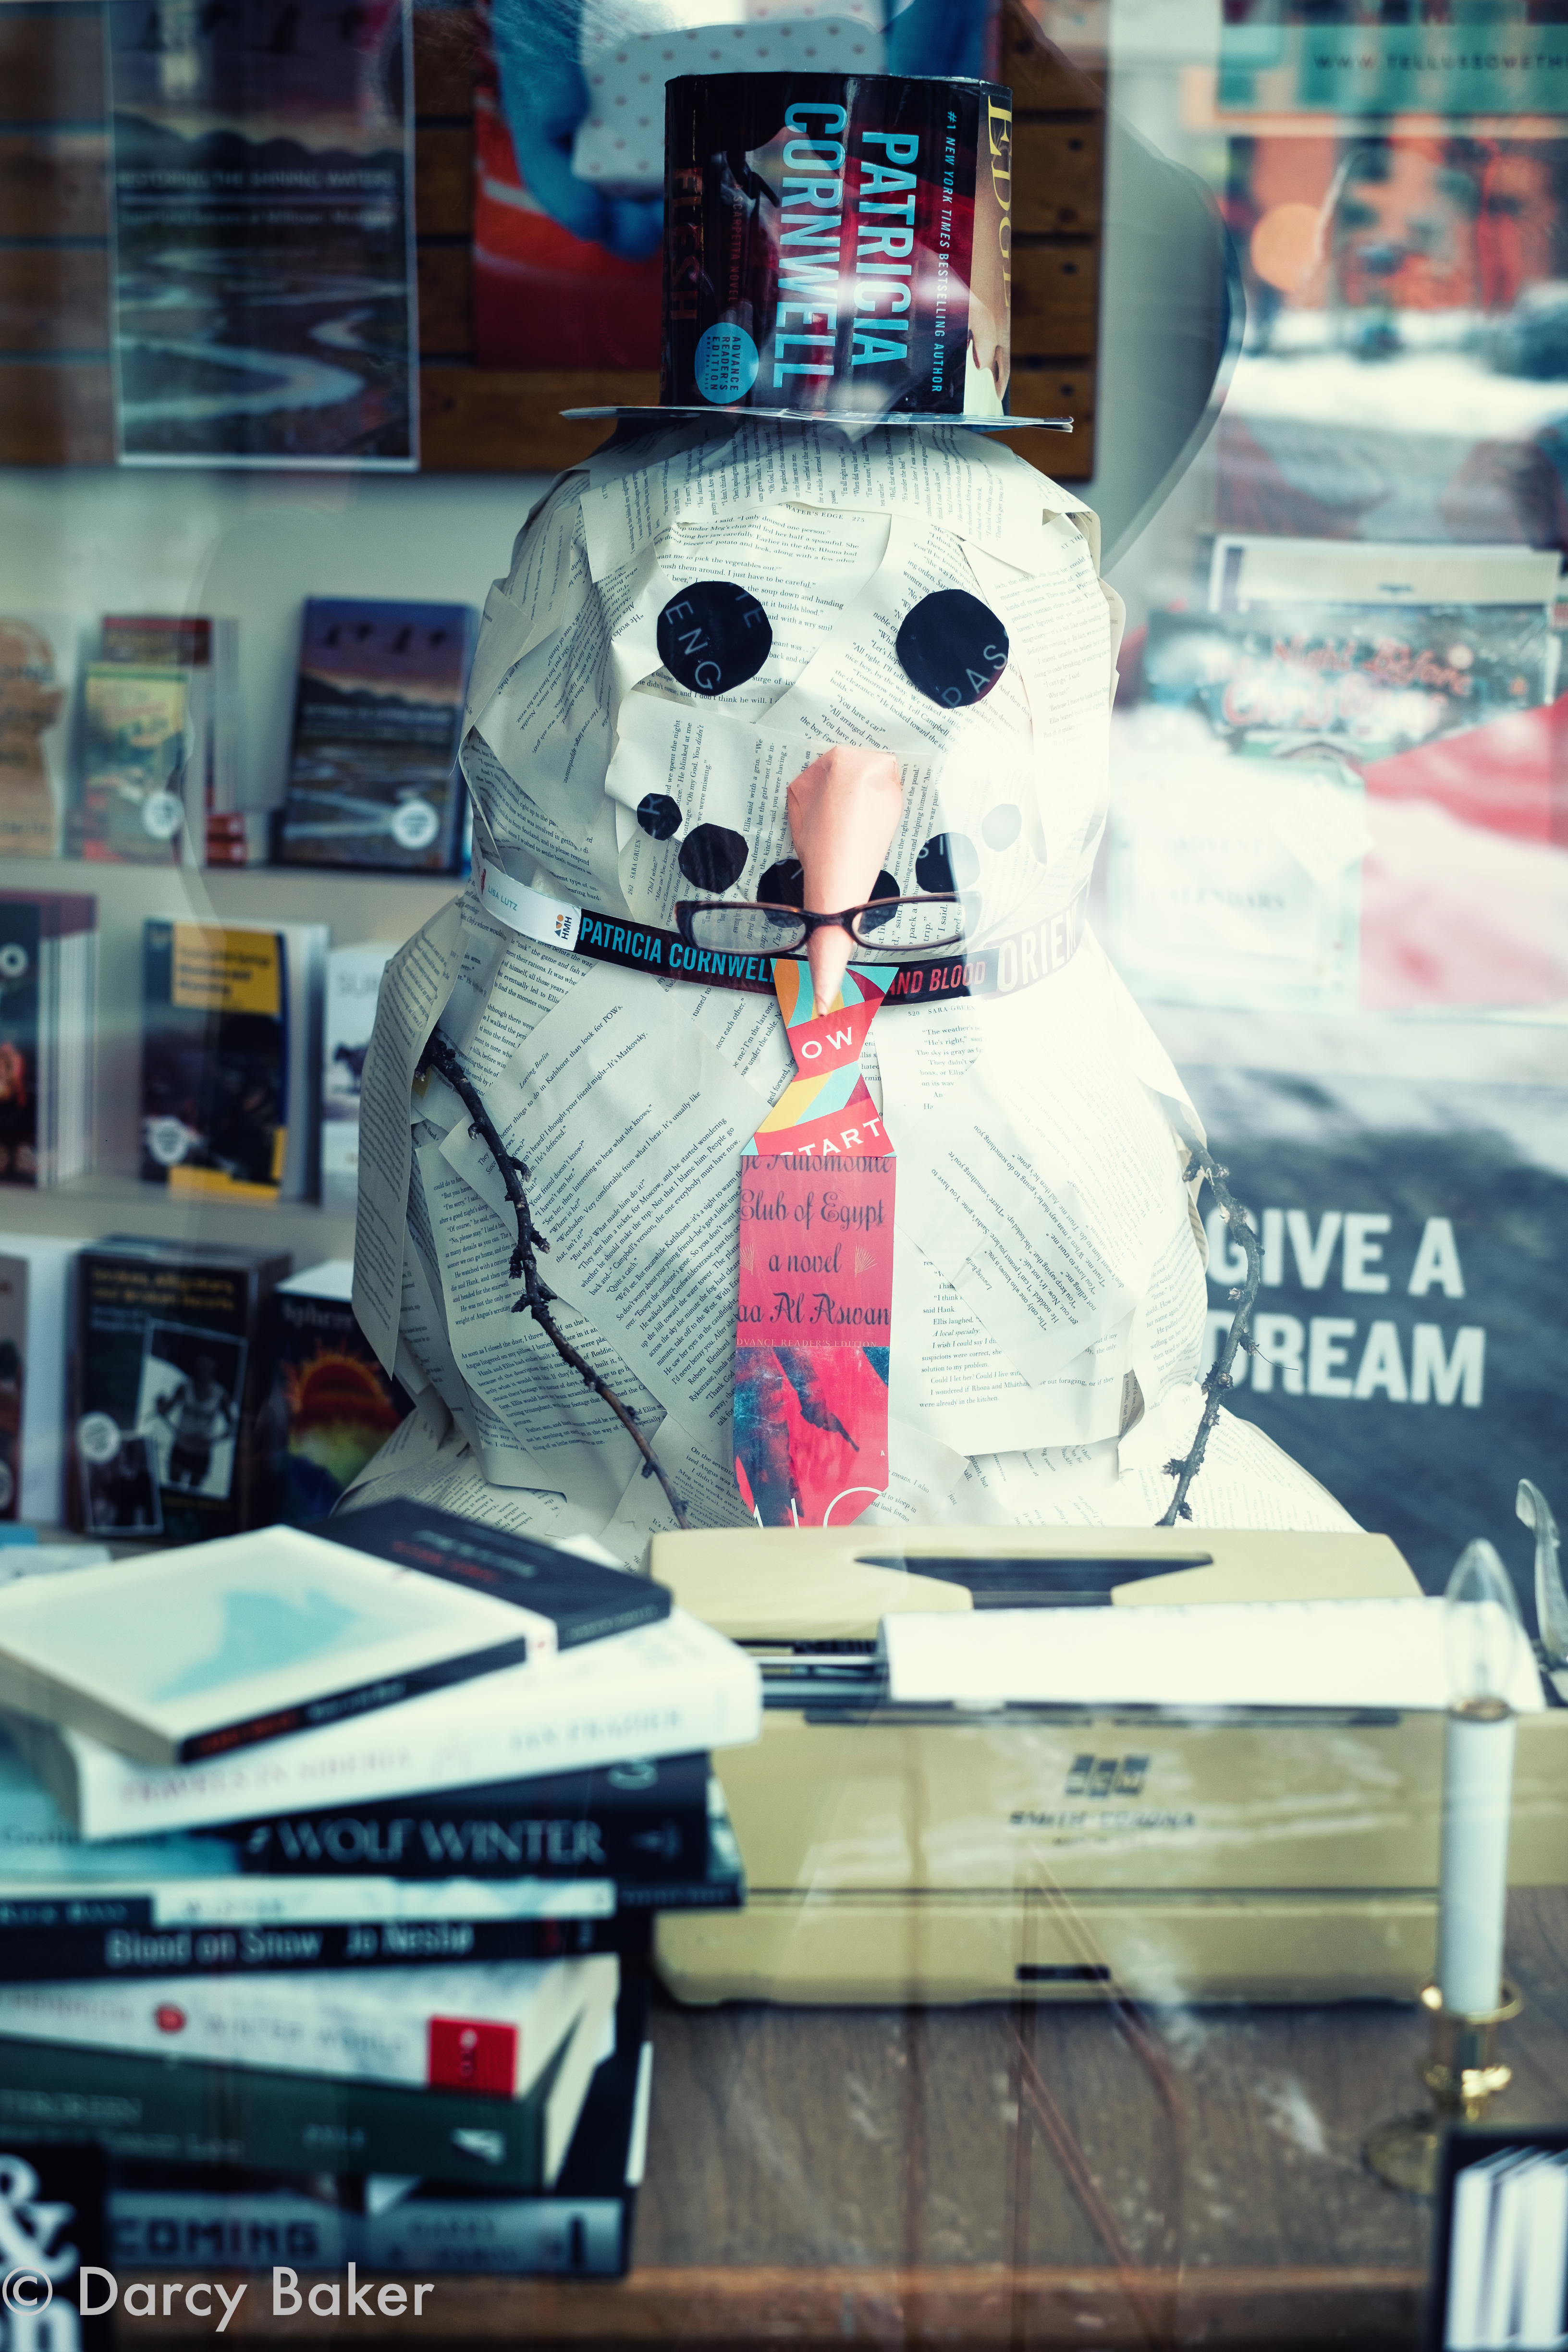
I believe that every day we wake up is truly a day to celebrate therefor every single day should be a holiday.  For each and every day holds so many gifts for us to celebrate. They may not always be the same from day-to-day but each and every day has something for us to celebrate; the love of our child, the sun shining bright, the sound of the first winter snow when the city is asleep and you are the only outside letting the flakes land on your tongue, a day you are healthy, a day your love wakes up next to you, a delicious cappuccino that you get to drink while everyone else is asleep, a glass of wine, someone to share a glass of wine with, a friend you can count on, a beautiful flower just blooming in spring, the smell of rain traveling on the winds of a summer day, the sights and sounds of a rushing river on an endless journey, a reliable car, the songs of crickets outside the city limits, a roof over your head, a day on the beach, a night in the mountains, the stars above, the beckoning call of a loon,  a wonderful new book to read, the eyesight to read said book with, a warm sweater when it’s cold, food on the table, a means to purchase food, The sound of a baby crying…when odds were against it ever doing so, a new pair of shoes, an old pair of shoes – companions you could never part with, music, the sound of crunchy autumn leaves crackling under foot while on a hike, a humming bird outside your window, a handwritten note received in the mail, watching a child chase a frog, making hobo pies with your friends, feeling the wind tickle your face, falling in the snow, falling in love, a blanket to snuggle up in, a printer that works when you really need it to, the sounds of birds singing in the woods, a day on a trail, two feet for walking, the strength to run, a slice of cake, a handmade scarf, something that made you laugh, tears of joy, learning something new, the ability to remember the things you learned, the taste of ice cream, making ice cream, seeing a snowman in the window with an antique typewriter, beautiful soft linen, a phone conversation with a best friend, a phone to call with, a grandparent to play cards with, a parent to talk to, the best ever soft socks sans any holes, needle and thread in case there are, a song to be heard, a song you can sing,  a voice,  someone in your life that loves you to no end, hands that can write, hands that can hold…and hands that hold yours, a mind that still works and a heart that keeps beating…Just to name a few.

So this is my holiday greeting to you, 365 days of it; the peace, the joy, the good will to all, the giving thanks, the glitter, the lights, the magic, the special meals that allow us to pause together, the time off or travel to spend with those we love.  May you not only have these things but may you also see these things every single day of the year, every single day of your life and may you have the awareness and wherewithal to celebrate them as the beautiful gifts they are and treat each and every day as a holiday.

I am,
The Urban Mountaineer

I am not a blogger per se much less a writer.  No, not even close.  I just post things here now and then on this platform I call my space, The Urban Mountaineer.  It’s my way to share fractal bits and pieces of me with anyone who cares to read about them.

Roasted Squash Cheese Cake

squash cheese cake with whip cream, top down view on dark grey background with a tan linen napkin a silver serving spoon and two green leaves on the side

I hate to admit this but my daughter and I both can sometimes act like Grinches during the holidays.  It’s not that we are against them per se, sometimes we just get overwhelmed by all the hub-bub that goes along with the season.  That being said, we DO celebrate the holidays, however a little lower key than some.

One thing we completely indulge ourselves in though is baking together.  It’s our way to specifically carve out time to spend together and make up for the rest of the busy year when we’re typically running around at a hundred miles per hour.  Okay, we’re busy during the holidays too but we just like to bake. 

In particular, we love making this roasted squash cheesecake.  I don’t know why we only make this during the holidays because my daughter and I love, love, love this cake and we feel it’s certainly worth the effort. It’s a bit of a spin on a layered pumpkin cheese cake we found years ago and were inspired to create our own.  We wanted to add some depth of flavor and the roasted spicy winter squash we typically make adds plenty of that.  Along with the roasted squash we changed the crust on ours to a chocolate one with light floral notes from freshly ground nutmeg.

Full disclosure on prep time, I typically make the spice rubneeded to make the roasted squash well in advance mostly because I use it forso many other recipes and then I roast the squash the day before I make thecake otherwise this recipe would take too long to make in my opinion.  It would certainly crush my daughter’sattention span if we did it all at once. I honestly feel that if you cheat on this one and use can pumpkin pureeyou’ll be missing out so please take the time to roast the squash and make yourown puree.  I promise you, you’ll thankme.

*Happy Baking*
I am,
The Urban Mountaineer


Before you get started, here are links to the spice rub aswell as the roasted squash.  Recipes forthose will also be included at the end of this one in case you have a snow-dayand want to do it all at one time.

Roasted Squash Cheesecake

Preheat oven to 325

First: Make the pie crust
9-inch chocolate pie crust
1/3 cup sugar
1 ½ cup fine crumbled chocolate graham cracker
1 tsp freshly ground nutmeg
6 TBL melted butter

The magic of this crust is the freshly ground nutmeg as itadds a wonderful floral aroma and flavor so please, please, please do noteliminate this ingredient and please, please, please freshly grind the nutmegright before you use it. I promise theextra effort is worth it.

So to make this easy breezy pie crust simply melt the butter.  While you are waiting for the butter to melt grind up your nutmeg and then mix all of the dry ingredients together.  Add in the butter once it’s melted, mix and then press it into a pie tin. 

Now make the filling.

Roasted Squash Cheese Cake Filling
2- 8 oz packages of cream cheese
2 eggs
1 tsp vanilla
½ cup sugar
½ cup roasted squash puree

Beat cream cheese, vanilla and sugar until smooth, add eggs one at a time.  Remove 1 cup of batter and pour into bottom of pie crust and smooth out, then set aside.   Then gently mix in the roasted squash puree with the remainder of batter.

Fill chocolate graham cracker crust and bake for 35-40 minutes or until middle is set.  Let cool then refrigerate for 3 hrs. before serving.

To Serve: I like to mix some additional crumbled chocolate crackers with crushed glazed pecans and sprinkle them on top and then of course dollop with a little bit of freshly made whip cream.


Roasted Spice Blend
¼ cup fennel seeds
1 TBL coriander seeds
1 TBL grains of paradise
1 tsp red pepper flakes
2 TBL chili powder
1 TBL chipotle powder
1 ½ TBL salt
1 tsp of smoked sea salt
1 TBL ground cinnamon
2 tsp freshly ground nutmeg

The first thing you need to do is lightly toast some of these spices.  A light toasting (be careful not to burn as this can happen very quickly) releases the beautiful flavors and adds depth of flavor to the blend.   So toast the whole seeds; fennel, coriander, whole pepper and grains of paradise in a pan on the stove top.  Then add in the red pepper flakes (be careful not to get in your eyes or inhale).  Toss quickly for a minute then set aside to cool in another pan.  Once everything has cooled you can grind this up in a spice blender then add to a bowl and mix in the remaining ingredients. 

Store in a cool dry place and you’ll have a wonderful versatile blend to use for soups, roasted squash, pumpkin and other autumn/winter recipes.


Roasted Squash
About 2-3lbs butternut squash (I use 1-2 medium size squash)
1 Stick unsalted butter
2 TBL Granulated Sugar
2 tsp. Raw Sugar
3 TBL chopped Sage Leaves
¼ cup Balsamic Vinegar
¼ cup Dark Molasses
2 ½ tsp. Toasted Spice Blend
Salt and pepper

  • Preheat oven to 400 degrees
  • Peel the squash (I use a vegetable peeler). And discard the seeds, then cut into small squares. Place in a large bowl and season with salt and pepper
  • Heat the butter in a medium skillet over medium-high heat.  When the butter ceases to foam and has turned a light brown, pull the pan off the heat and immediately add the sage, sugar, vinegar (stand back so as not to get splattered), molasses and toasted spice mix.  Mix well and let simmer over medium-low heat for 1 to 2 minutes to meld the flavors.
  • Pour the vinegar mixture over the squash and toss well, then transfer to a heavy rimmed backing dish large enough to hold the squash in a single layer.  Place in the oven and roast, tossing at least once, until very tender and caramelized, about 45 minutes to 1 hour.  Set aside until cool enough to handle but still warm, so the liquids are runny.
  • Working in batches, if necessary, transfer the warm squash and all the cooking liquids to a food processor and process until smooth.  Use immediately, refrigerate for up to 5 days, or freeze for up to 2 months.
  • Yield: About 2 Cups of puree

Servingsuggestions: serve the puree on its own, in soups, polenta, ravioli oras a side dish for roasted turkey or chicken. When I use this in ravioli I reduce the puree even more in a pan withbalsamic vinegar and sage.


Roasted Winter Squash

20181125-5372-(1)Of all the trauma I feel I’ve endured as a child, having to eat overcooked and bitter spinach, broccoli and slimy squash was pretty darn bad and the pinnacle of my vegetable resistance.  Thank goodness the spinach rarely made a dinner table appearance and the broccoli our dog was agreeable to help me out with.  But the squash…. oh how I hated the squash and so did our dog.  So I was always stuck with the squash.  Stuck to forge the strength to eat it sans any mercy from a mother who was serious with the stink-eye if she thought you were even remotely protesting anything she cooked.  And back then we had to ask permission to be excused from the table. An agreeable “yes” only came with proof of a cleared plate.

That’s why I find it so ironic that now I absolutely love squash…. yep, I said it and I do.  I also love spinach and broccoli but that’s because I prepare it completely different than how it was served to me as a child.

One of my favorite ways to prepare squash is to simply roast it.  From there I can just eat it straight out of the baking dish (sometimes I can’t resist to hit it as soon as it comes out of the oven) or make a puree to use for soup, ravioli, a side dish to roasted chicken or even use in cheesecake!

So here is how I make roasted winter squash.  You can use any type of squash you want but pay attention to roasting times as that may vary. Sometimes I like to mix up different roasted varieties to use when making roasted squash soup.

In a previous post I shared a roasted spice mix.  You’ll want to be sure to make a batch before you roast your squash because you’ll need some for this recipe.  Here is a link to that.  My next post will be a recipe for roasted squash cheesecake in which you will use the puree you make in this recipe.

Roasted Squash

  • About 2-3lbs butternut squash (I use 1-2 medium size squash)
  • 1 Stick unsalted butter
  • 2 TBL Granulated Sugar
  • 2 tsp. Raw Sugar
  • 3 TBL chopped Sage Leaves
  • ¼ cup Balsamic Vinegar
  • ¼ cup Dark Molasses
  • 2 ½ tsp. Toasted Spice Blend
  • Salt and pepper

Steps

  • Preheat oven to 400 degrees
  • Peel the squash (I use a vegetable peeler). And discard the seeds, then cut into small squares. Place in a large bowl and season with salt and pepper.
  • Heat the butter in a medium skillet over medium-high heat. When the butter ceases to foam and has turned a light brown, pull the pan off the heat and immediately add the sage, sugar, vinegar (stand back so as not to get splattered), molasses and toasted spice mix.  Mix well and let simmer over medium-low heat for 1 to 2 minutes to meld the flavors.
  • Pour the vinegar mixture over the squash and toss well, then transfer to a heavy rimmed backing dish large enough to hold the squash in a single layer. Place in the oven and roast, tossing at least once, until very tender and caramelized, about 45 minutes to 1 hour.  Set aside until cool enough to handle but still warm, so the liquids are runny.
  • Working in batches, if necessary, transfer the warm squash and all the cooking liquids to a food processor and process until smooth. Use immediately, refrigerate for up to 5 days, or freeze for up to 2 months.
  • Yield: About 2 Cups of puree

Serving suggestions: serve the puree on its own, in soups, polenta, ravioli or as a side dish for roasted turkey or chicken.  When I use this in ravioli I reduce the puree even more in a pan with balsamic vinegar and sage.

I hope you love this as much as I do and can’t wait to hear from you after you do!

I am,
The Urban Mountaineer

Give kitchen ho-hum a swift kick in the a**!

20181125-5345-Edit

Never underestimate the fundamental power great seasoning brings to any dish.

Whether it be a kick, jab, smoke, zest, subtle touch or slow-moving roller coaster ride through a culinary theme park…the right spices can transform ho-hum into extraordinary.

I found this amazing recipe a few years back for a beautiful roasted autumn spice blend that has become an indispensable staple in my kitchen now during my autumn and winter cooking months (especially during the holidays!).

I’ve tweaked it a little bit …because that’s what we do when we play in the kitchen and I haven’t stopped using it since.  I use this blend in so many dishes, to say it’s versatile would be an understatement.  From a savory granola mix to simple roasted squash (yes then to soup) to a fabulous cheesecake this blend has no end!

Like delicious food, the most flavorful spices are those that are fresh, therefore I try to use the freshest spices I have access to and grind them myself.  Okay, I know that’s not always practical but since I’m making a special blend I’ll be using over time I want to start off with the best flavors possible.

So here’s the easy-breezy recipe, now, go make yourself a batch!

spices arranged on a worn wooden table next to a window
Toasted Roasted Autumn Spice Blend

¼ cup fennel seeds
1 TBL coriander seeds
1 TBL grains of paradise
1 tsp red pepper flakes
2 TBL chili powder
1 TBL chipotle powder
1 ½ TBL salt
1 tsp of smoked sea salt
1 TBL ground cinnamon
2 tsp freshly ground nutmeg

The first thing you need to do is lightly toast some of these spices.  A light toasting (be careful not to burn as this can happen very quickly) releases the beautiful flavors and therefor adds depth to the overall flavor to the blend.   So toast the whole seeds; fennel, coriander, whole pepper and grains of paradise in a pan on the stove top.  Then add in the red pepper flakes. Be careful not to get in your eyes or inhale, especially if you’re crushing your own dried peppers for the flakes…this always happens to me and you think I’d know by now.  Toss quickly for a minute then set aside to cool in another pan.  Once everything has cooled you can grind this up in a spice blender then add to a bowl and mix in the remaining ingredients.

Store in a cool dry place and you will have a wonderful versatile blend to use for soups, roasted squash, pumpkin, potatoes, bacon and other autumn/wintery recipes.

I have a few recipes to follow this post and I’d love for you to try them.  My daughter and I created a beautiful roasted squash cheesecake in which we use this spice blend to roast our squash with.  I’ll be posting those shortly so keep a look out for them.  In the meantime, I’d love to hear how you use this blend!

I am,
The Urban Mountaineer

It’s football season and it’s all about the spread…

For the game day sandwiches that is!
10012018-5178-(1)And we all know that no great sandwich ever started off with a lame spread.  In fact, the spread is the magic, the foundation for greatness to build upon.   The spread makes all the difference in the world.  And anyone who’s ever made their own will agree with me when I say, there’s nothing better than fresh made mayo – simply trust me and skip the jar at the grocery store because there is NO comparison.

Now, I know that you might be thinking to yourself right now that making your own fresh mayo sounds like a lot of work or that it’s probably a tricky endeavor but trust me…it’s rather quite simple.  We’re talking six ingredients here, an immersion blender, a jar and happy sandwiches in your future in less than 10 minutes tops!

So, shall we make a batch?

Here’s the lineup (sorry, I couldn’t help myself)

1 Cup Avocado oil
1 Large Egg (the freshest egg you can buy and let it get to room temperature)
¼ tsp White wine vinegar
½ tsp Dijon mustard
¼ tsp salt
1 tsp fresh squeezed lemon juice

To mix I use the container that came with my immersion blender because it’s a tall cylinder shape that’s wide enough to properly blend the ingredients.  If you have a wide mouth canning jar that works great as well.

Add the egg first followed by the vinegar, oil and the rest of the ingredients.  Then put the blender all the way to the bottom on your container and let it blend for about 30 seconds, then slowly raise it up blending as you go until everything is blended well and is smooth.  Your mayo will thicken up after it’s been refrigerated for a little bit but you don’t need to wait for that to happen before you can enjoy it.  I say make those sammies right away and score some points with your couch stadium friends (sorry I couldn’t resist dropping one more in the mix)!

And there you have it, the simple base and I encourage you to play with this recipe and create your own additional flavors such as a couple of my favorites, chipotle, roasted tomato and a lovely avocado/cilantro blend.  There are no flavor limits…well maybe not cotton candy, that would surly be a flavor limit.

Now, back to making sandwiches…

I am,
The Urban Mountaineer

Derailing a Routine

Image of an iron handrail along a street curb

I’m on the train again.  Northbound with faithful companions, backpack and camera by my side.  I’ve traveled this this route so many times I know and can predict each and every soft whipping turn, acceleration and deceleration point along the way without ever opening my eyes.

The sounds are familiar, the sway of my car is familiar.  I know this route well.  I know the tracks and how this train cooperates with them.  It’s becoming “my” route.  It is my route.

And while I hate routine, I find myself often lured into its trap, the one wrapped in something pretending to be safe.  Yet with each and every jostle and abrupt jolt caused by the defiance of the train against the tracks below I am gently reminded that I’m not always in control of the journey.

Surprisingly I’m not at all alarmed by this.

My eyes are still closed as I unconsciously and robotically lip the words of each station’s name as we arrive just as we always do.

Routine has once again lured me into its trap.  How very clever it can be.  But as the train pulls into the next station I quickly open my eyes and change my mind.  Off the train and onto the platform of a station I’ve never stepped foot on before…I’m ready to explore a new place.  This wasn’t my plan.

There I was with camera in hand and a different destination in mind this time, and surprisingly I’m not at all alarmed by this.

I am,
The Urban Mountaineer

21 Days – Day 22

food photography, top down view of coffee

Watching the sheer drapes plume from a slight breeze, she wraps herself up in her favorite blanket and ventures outside.  Cradling her cappuccino as if it were a newborn child, she lazily drapes her arms in contrast to such over the porch railing and gazes down below.

Her mind drifted.

She smiles slightly as the bare branches of a peach tree just beyond rattle softly keeping pace with the drapes and thinks to herself, “21 days, what a wonderful gift”.

Her mind then drifted once more and found her feeling the bitter air of a mid-western winter that smelled of cigarettes.  A mid-western winter left far behind in her past. She was 16 again.  She felt the slush on her feet that numbed her toes, she couldn’t wait to escape.

She lives in the moment.

The past frightens her; it threatened to ensnare her heart and hold on tightly when she wanted to keep moving.  She had to keep moving. But for 21 days she allowed herself to brush the outer rim of this space and linger there just a little.  She decided she was content for doing so.

She needed 21 days so she could write more, he must have known that.  Maybe he didn’t.

Day 22.

I am,
The Urban Mountaineer

21 Days…

image looking outside of a window on a train

The cold chases her hands as she quickens her stride, “keep moving” she says to herself “and you won’t feel the pain”.  It’s not the type of bitter cold you would curse, it’s a small price to pay to live where you can almost kiss the clouds.  She is happy, and despite the ornery bite of the wind the sun is far more persistent.  She tells herself the sun is hers and as she stands there in silent she says “thank you” softly but audibly nonetheless.

“Keep moving” she says before stopping once again for a brief moment so the warmth of her sun could gently cradle her face.

“Keep moving” she says…

The city is alive and not without grit.  This she knows; she’s in it, she feels it and without her consent she is a part of it.  It lingers by her side and stares at her as a cigarette dangles from the side of its mouth. She stares back to convey her resilience. She is waiting for a train.

The tracks bear witness of those who have also lingered in an unmeasurable past with cigarettes dangling from the sides of their mouths.

She’s not afraid, she empowers herself with a look in her eye that she shares with others who choose to connect.  Downloading the MP3 file that landed in her mail she resides in a moment she knows is hers and pretends the song was written for her.  She knows it wasn’t but doesn’t care.  With a deep breath she closes her eyes and listens to his song, commanding the city to briefly relinquish its grit.

“Keep moving” she says…

She is,
~ The Urban Mountaineer

Peachy Jam Tangerine Paletas

ice cream bars on table with peaches and oranges

As much as I truly LOVE autumn I’m trying to hold onto summer as long as I can and these peaches are helping me fend off the pending transition into winter.  So I purchased a final basket of these beauties to make a couple final treats before sweater-weather is here to stay.

Last week I used some of these fresh peaches to make a fruit jam.  I stewed them down (not too mushy, keep some pieces whole) with savory roasted peaches, fresh apricots, white peaches and figs to make a sweet and savory fruit jam.  We then topped some of the warm jam over vanilla gelato and topped with crumbled glazed pecans.

I’m using the same jam in this Peachy Tangerine Paleta recipe below.  Paletas are traditionally made with fresh fruit but hey we like to mix it up a little.  What gives these Paletas a fresh flavor above the sweetness is the infusion of citrus in the cream.

I hope you enjoy these tail-end summer treats as much as we do!

Peachy Jam Tangerine Paletas

  • 1 can (14 oz) sweetened condensed milk
  • 1 cup half and half
  • 1 cup of freshly squeezed juice from a combination of oranges and tangerines
  • Zest of orange (2-3 TBL)
  • Fruit jam made of roasted yellow peaches, white peaches, apricots and figs
  • Crumbled graham crackers

Whisk together zest, juice, half and half and condensed milk until completely blended and then pour into molds (6) leaving about an inch from the top.  Cover with lids but don’t add the sticks yet.  Freeze for about an hour.

Remove from freezer and spoon the fruit jam into the center of the molds filling just shy of the top and gently stir the fruit around.  Replace lids with sticks and freeze for at least 5 hours.

Gently remove the peachy palates and press them gently into the graham cracker crumbs.

Thoroughly enjoy…

I am,
The Urban Mountaineer

Herb Roasted Peaches with Bacon

20170902-3421

Peach season is winding down but it’s not gone yet.  I haven’t had a chance to really dive into these beauties yet this year so it’s time to get serious before I miss my window.  I love peaches…I also love to roast so it’s only natural for me to roast my peaches as well.  Let’s face it, roasting brings out the very best of flavors…even with peaches!

So over the next couple of weeks I’m going to make up for lost time by cramming in my favorite peach recipes before the end of September and the prime peach season is over.

Today I made some delicious herb roasted peach and goat cheese toast, which I think is the perfect ” Autumn is on it’s way” Sunday morning treat. To make this toast you must first roast your peaches with herbs and bacon (yep, bacon!).  Here’s how I do it.  I’m not going to include specific measurements as this is an easy breezy process and you just need to make it according to your taste. I’ll give you the quick down and dirty, then you figure it out from there.

If you’re vegetarian just close your eyes and ignore the bacon part.  But I urge you to just think about those beautiful peaches and how good they’re going to taste if you include it!

  • ½ lb Applewood Smoked Bacon
  • 4-6 peaches
  • Salt and Pepper blend (I like to use a combination of grey pepper and rough ground black pepper)
  • Herbs: thyme, sage or rosemary
  • Olive oil
  • Raw sugar (brown sugar works too if you want a little more sweet)

Preheat oven to 450 then prep the peaches.  Slice in half and rid the pits.  Lay cut side up and brush a light coating of olive oil…very light coating (if you are using brown sugar skip the coating of olive oil).  Then sprinkle raw sugar over the tops and a smidgen of salt and pepper mixture (if you want to go deep savory and add some smoke try adding just a smidgen …and I mean smidgen of smoked paprika).  Cover.  I like to let them set for at least 15 minutes before I start the next step.

Then prep your herbs so they’re ready to toss in the pan when your pan is ready for them (you can use a pan or skillet but cast iron please).  I don’t cut them however I do pull the rosemary off the twig so I can sprinkle it over the peaches.  If you’re using sage, pull the leaf bunches off the stem as well as they are easier to drop in between the peaches that way.  If you use thyme keep the sprigs whole as you don’t want to have to pick off those tiny leaves when the peaches are ready to serve.  I pull all the herbs out after the peaches are done. I used both sage and rosemary for today’s batch of roasted peaches.

Cook the bacon on medium heat being careful not to overcook.  I love crispy bacon but if it starts off too crispy it ends up …. well too crispy when you’re done roasting the peaches.  I also like to use an applewood smoked bacon especially one that isn’t too fatty but seriously, use what ever type of bacon you like best.  After the bacon is cooked save the fat in a heatproof container with a spout because you’ll need some to drizzle over the peaches as they roast.  Drain bacon on plate with paper towels.

Return your pan to the stove and turn the heat up a little closer to high.  Drop the peaches in cut-side down and let those babies cook for at least five to seven minutes. while this is happening drizzle some of that bacon fat on the uncut sides and sprinkle a little salt and pepper mix on top but just a smidgen!  Pull off the heat, drop in your herbs and place the bacon all around the peaches.  I like to tuck in as much as the bacon that will fit.  Cover the pan (if you don’t have a lid use aluminum foil) and put into the oven for about another five or so minutes. You’ll want them soft and if your peaches are large you might need a couple extra minutes. Then pull the top off, flip the peaches and drizzle more of the bacon grease and sprinkle more herbs on top.  Return to the oven for another five to seven minutes.  Be careful though not to leave them in too long because it would be sad to let them burn and that could happen quickly if you’re not paying attention.

Now remove from the oven and try to refrain yourself….as tempted as you are to dig into those peaches trust me when I say…let them stand for an hour or two before serving.  Your taste buds will appreciate it.

Now before serving…

20170902-3441-(1)

Pull the herbs off as well as the bacon.  Obviously you’ll set the bacon aside to eat and ….oh how delicious it is with all those amazing flavors infused.  Because these peaches are roasted sweet and savory there are countless ways in which you can enjoy them!  One of my favorite ways to enjoy these peaches (and the bacon) is over toast.  I’ll spread goat cheese on a nice rustic grainy bread pile on some peaches and top with a poached egg.

roastedpeaches(3)-

You could also press the peaches into a jam and serve with a soft cheese and serve with crackers as well…options are endless. I mean how can you go wrong with herb roasted peaches and bacon???

And there you have it….delicious roasted peaches!

I am,
The Urban Mountaineer